In an age of constant distractions, having a structured system for your inbox means getting things done faster while making fewer mistakes. And, whether you are a student, entrepreneur, or working professional, you most likely want a system where you get to decide which important emails get surfaced and which ones get deprioritized.
This article will show you the five best Gmail filters for productivity that will continuously work for you after a one-time setup. So, let’s dive right in.
Contents
5 Best Gmail Filters for Productivity
1. Archive Calendar Notifications
There is literally no benefit in receiving an email whenever someone accepts your Calendar invite because there’s no additional action for you to take. The notification is just a distraction. To directly archive the calendar notifications, use these steps.
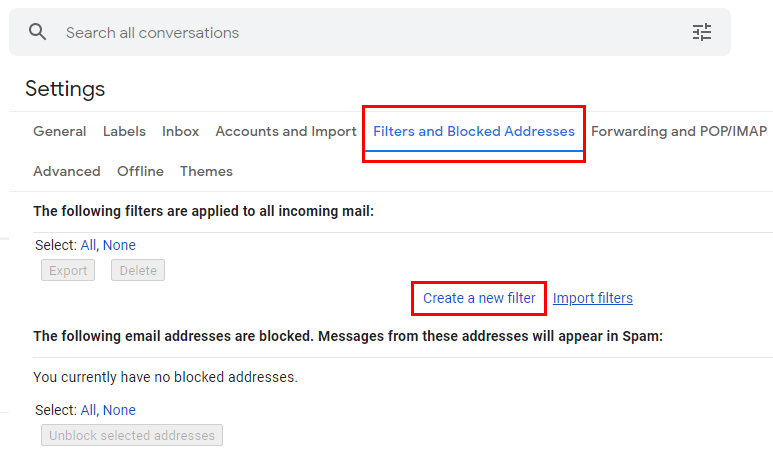
- First, go to Settings in your Gmail and click on the Filters and Blocked Addresses tab.
- Click Create a new filter and type filename:invite.ics AND accepted in the Has the words field. Then, click on Create filter.

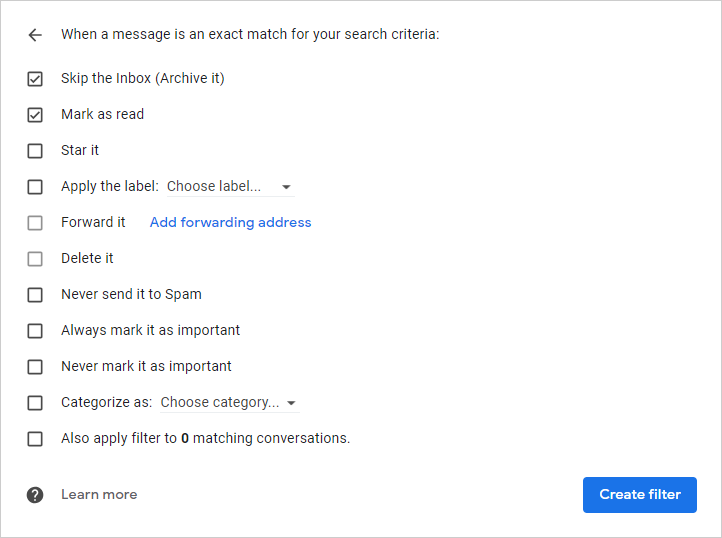
- Check the options that say Skip the inbox and Mark as read. And, if you want, you can apply a label such as a Calendar or something. Then click Create filter.
Now, you will never receive an email if someone accepts your invitation, but you’ll still receive a notification if someone rejects your invite.
2. Filter Out Spam
Although Gmail has an in-built system to detect spam emails, they often filter out some valuable emails. If you think emails from a particular sender are not spam and don’t want to land them in the spam folder, your best bet would be to create a bypass filter. Here is how to do it.
- Create a new filter, and in the From field, type the email address of the sender that you’d like to filter out from the spam folder.
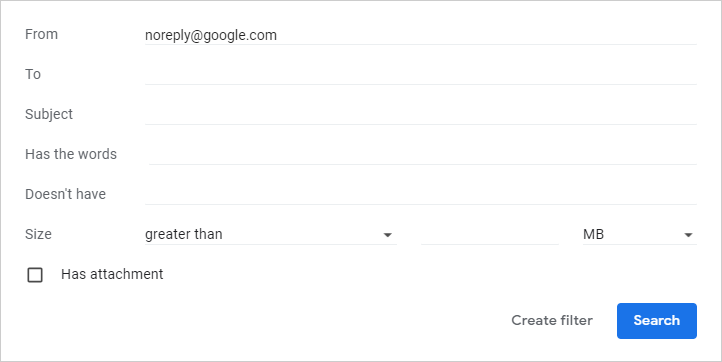
- Click Create Filter.
- Check the options Never send it to Spam and Also apply filter to matching conversations.
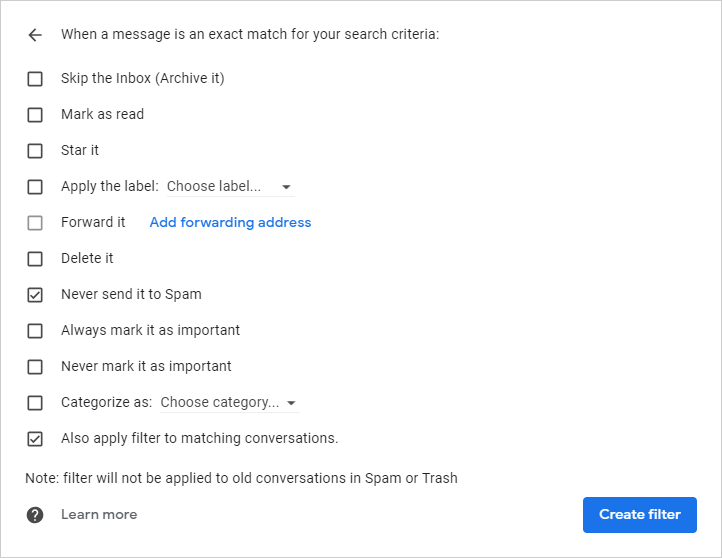
- Click Create filter again.
It will filter out all the emails coming from that sender and never surface them on your spam folder. Note that this spam filter does not apply to the old conversation in Spam or Trash.
3. Automatically Label Emails
With this hack, you can automatically move most of your newsletters and marketing material out of your inbox into a specific label. Specifically, we’re going to have this happen on autopiot as they arrive. So, here are the steps you need to follow.
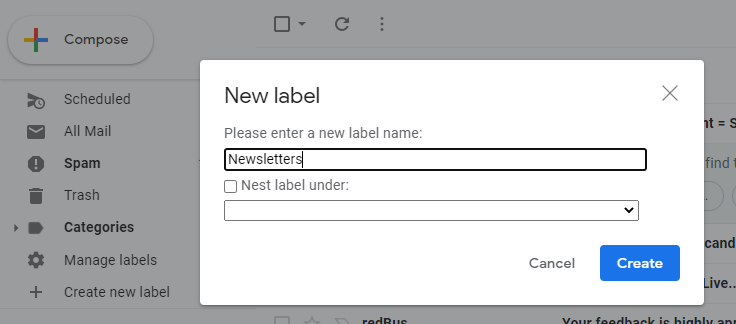
- First thing that you need to do is create a new label. For that, scroll down to the very bottom in the left pane and click More. Keep scrolling down and select Create new label. Name it as “Newsletters.”
- Click on the three dots next to your new label that’s now listed in the left pane and choose Label color. Change the color to something that you like so that it stands out a bit.

- Now, come up to the search bar and click on the filter icon. In the search options, type unsubscribe in the Has the words field and click Create filter. Then in the next screen, check the options that say Skip the Inbox (Archive it) and Apply the Label. Choose Newsletters as the label and again click Create filter.

Now onwards, you will no longer see the newsletters and marketing emails straight in your inbox. Instead, they are going to appear on the Newsletter label. It will declutter your primary inbox and make it easy for you to review those emails separately.
4. Filter Comments from Google Docs
If you work with any of the Google Workspace tools like Docs, Sheets, and Slides, you know that whenever someone comments on a file that you own or comments at you within that file, you’ll receive an email notification by default. Here, you will apply separate labels to comments we receive from Google Docs, Sheets, and Slides. This is because there are times when we come across a scenario where we want to refer back to the comment even after it has been resolved.
And, within Gmail, the search bar is not that great at searching for comments specifically. So, if you want to create a filter, follow these steps.
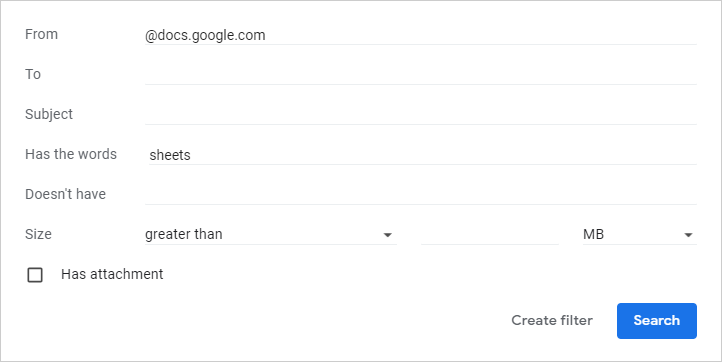
- Click on Create a new filter and type @docs.google.com in the From field. Then add “sheets” in the field next to Has the words. Click Create filter.
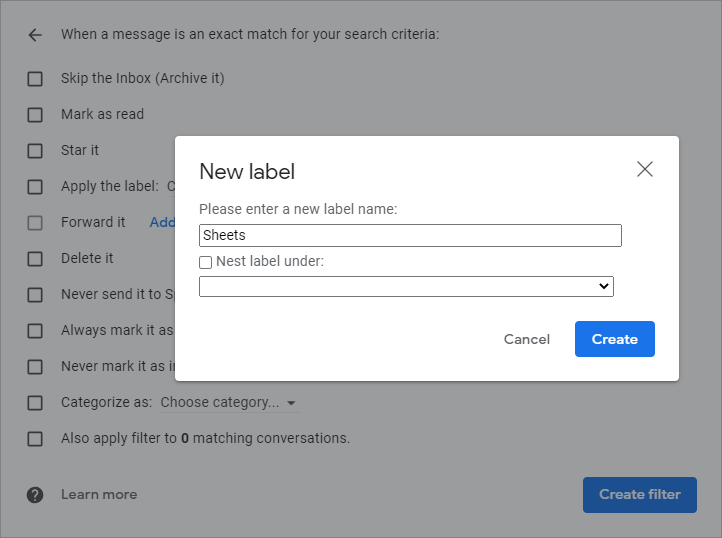
- In the options that then appear, check Apply the label option and choose New label. Type Sheets and click Create.
- You can also check the Skip the inbox (Archive it) option so that once you create the filter, you can click on the three dots next to the label and choose Show if unread. And, this hides the label unless there’s a new comment directed towards you.
- Repeat the above steps for Google Slides, and replace “sheets” with “slides” in Has the words field.
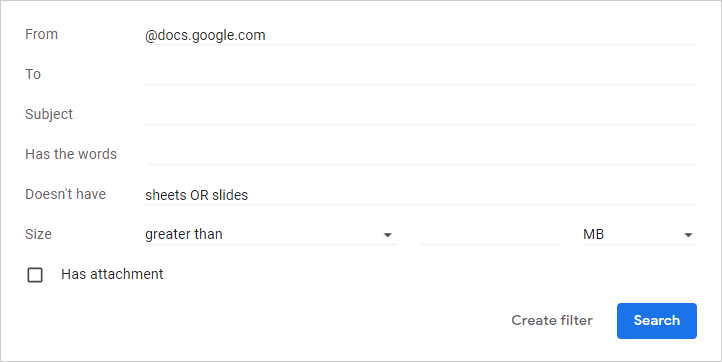
- In Docs, there is a little difference. If you want o filter out Google Docs only, you need to write “sheets OR slides” in Doesn’t have field while keeping Has the words field empty. And continue with creating the filter.
5. Transfer Filters
If you have to manage multiple accounts at work, you can use this simple hack to transfer filters across your accounts. To do so, use these steps.
- First, go to Settings and click on the Filters and Blocked Addresses tab.
- Select all the filters you’d like to transfer or share, and click the Export button to download your filters’ XML file.

- Now, on the same page in your other account, import this XML file by clicking Import.

There you go! You’ve successfully transferred your filters to another account. Isn’t it that simple? You can also use the XML file to share with your friends and colleagues to make them more productive like you.
Use Gmail Faster Than Ever
Using these filters will help you attain better productivity at school and work and help you make fewer mistakes as it takes the manual intervention out of the equation.