Knowing how to find computer specs on Windows 11 is a need. This can be helpful at times when you need to upgrade your operating system or checking the system compatibility with an application you would like to install. From this article, you are going to learn how to check your full PC specifications including how much RAM do you have, details about your processor, graphics card, hard drive or SSD capacity, and even more.
Whatever the reasons why you need to check the pc specs on Windows 11, here is our guide to help you find out the full system specs using 5 different methods.
You may also like: Download Windows 11
How to Find Computer Specs on windows 11
1. How to Check PC Specs Windows 11 from System Properties
To see PC specs on Windows 11, this is the common method preferred by most of the users as it is straightforward. To check using this method, follow the below steps:
- First, right-click on This PC icon on your desktop and then choose Properties to open the computer system window.
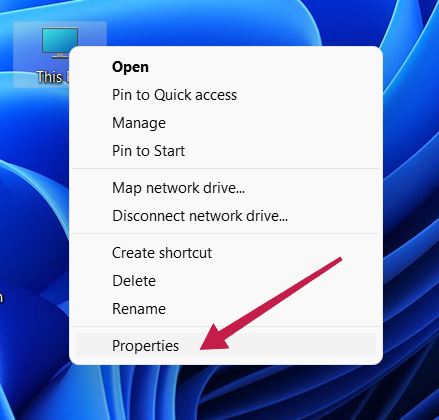
- This will open up a window with the basic information about your computer. Here you can see details like Windows 11 OS version, system processor, installed memory (RAM), system type (32 or 64-bit OS), computer name, windows activation status, etc.
2. How to Check Computer Specs Windows 11 from Settings
This is the second method with which you can check PC or laptop specs on Windows 11.
- Click on Start button > Settings.

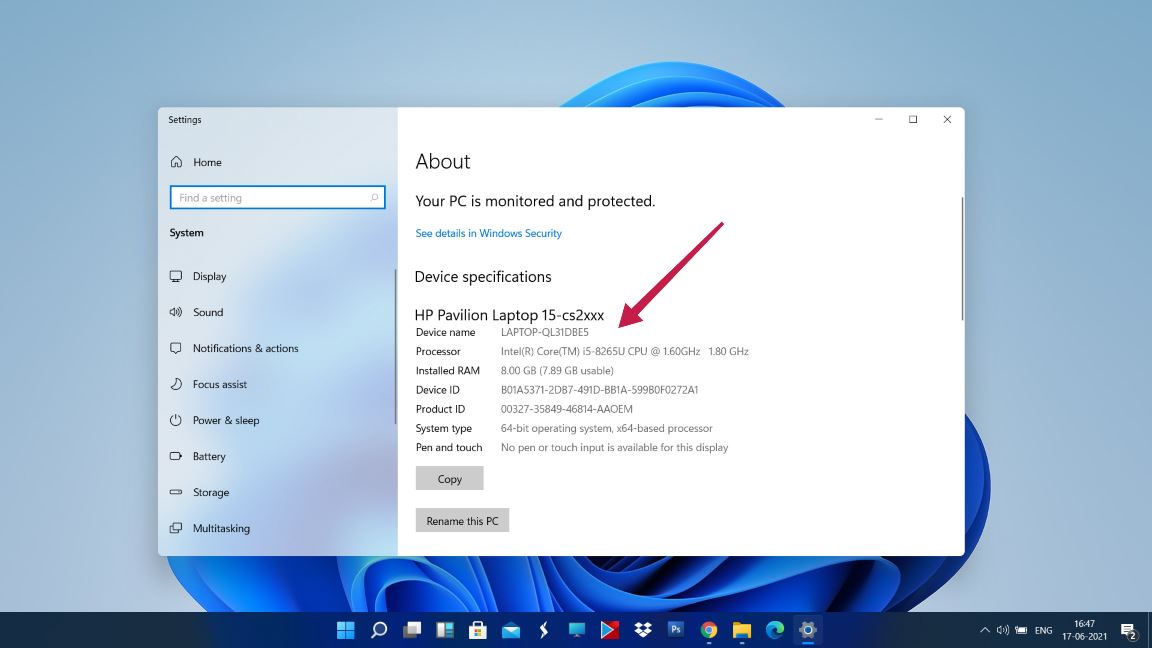
- Now select System and then About.

- This will open up a window with your device specifications.
- Here the specs include device name, processor, installed RAM, device ID, product ID, system type, touch screen details.
- Once you scroll down, you can also see the Windows specifications like edition, version, installed date, OS build.
3. How to Check Computer Specs using CMD
Another method to see your computer specifications is to use the command prompt tool.
- Open the command prompt window first. For this press Window Key + R. This will open up the RUN window.
- In the RUN window type “cmd” and press Enter.

- You can also open the command prompt window by clicking on the start button followed by searching the command prompt. Once the command prompt is in the search result, right-click and choose Run as administrator.
- Once the command window is opened, type the command
systeminfoand press Enter.
- Then you will see your computer specifications in the command window itself.
4. How to See Computer Specs Windows 11 using System Information
For seeing the pc or laptop specs, you can also use this method where we again make use of the RUN window. Here are the steps:
- Open the system information window by pressing Window Key + R.
- Then type the command “msinfo32” and press Enter.

- You can also do this in an alternate way. Click on the start button and search for system information and choose the best option from the search result and you will be taken to a window where you can see full system information and specifications.
- Here you will get much more detailed information regarding your system than the other methods mentioned here.

5. How to Check Laptop Specs Windows 11 using Powershell
You can also check the system information using PowerShell in Windows 11.
- Click the Start button and search for PowerShell.

- From the search result choose the PowerShell with the icon and run as administrator.
- Now you will enter the command line interface of PowerShell with blue background. Here type the command
Get-ComputerInfoand press Enter.
- Once you issue the command you will be shown the full computer specifications in the PowerShell interface itself.
Final Words
So these are the 5 methods that explain how to find pc specs on Windows 11 operating systems. Out of the 5 methods, the fourth method will give you a hell lot of information regarding your PC or laptop. Even though it is not pretty straightforward, it’s my favorite method as it can provide abound of system information in a single place.
Of the 5 methods listed here, which one are you using? Leave your favorite method and views around it in the comment section below. Just in case of any doubts or queries, feel free to ask us.
Related Articles
- How big is Windows 11
- Windows 11 System Requirements
- How Much Space Does Windows 11 Take up on Your Disk?
1 Comment
you see the last entry says windows 10 right? used to be my favorite method….